
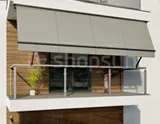


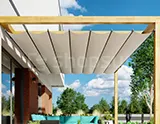

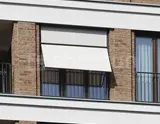


Installation of the Vivo MOL awning
Vivo MOL awning installation
 |
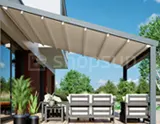
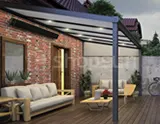
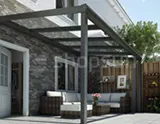
Ways of installing awningsAssembly of the Vivo awning: The awning is already fully assembled and adjusted. The awning is standardly equipped with universal brackets used for wall or ceiling mounting. Installing the awning is basically very simple and is limited to attaching the brackets, e.g. to the wall. If necessary, we can also freely set the angle of inclination. We can also attach the awning without any problem to a wall insulated with e.g. Styrofoam, up to 20 cm thick. The product is intended for self-assembly. |
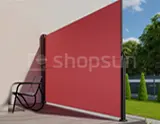
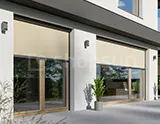
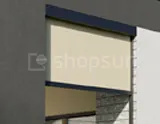
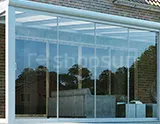
1. Installation of the awning on the wall or ceiling
The awning has two extreme, universal wall and ceiling brackets, which are painted to match the color of the structure.

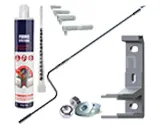
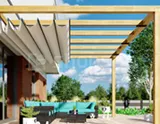
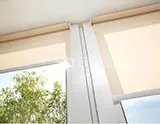
| Wall mounting The awning has two extreme wall brackets, which are painted in the color of the structure. The elements must be fasten with appropriately long screws, and then attach the awning in the places intended for this purpose. |
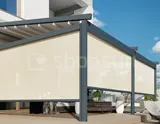
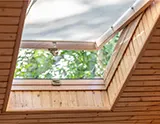
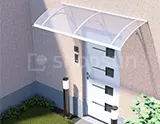
Ceiling mounting The awning has two additional ceiling holders for a fee, which are painted to match the color of the structure. The elements should be attached using sufficiently long screws, and then the awning should be attached to the designated places. |