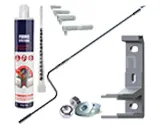
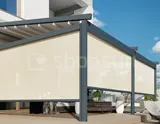
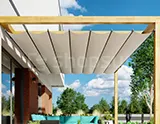
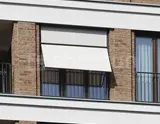
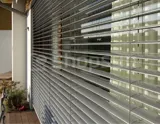
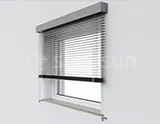
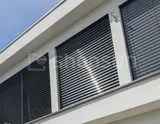
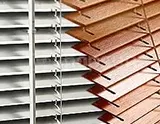
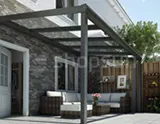
Assembly of the Allegro awning: The awning is already fully assembled and adjusted. The awning is standardly equipped with wall mounts (1). For an additional fee, we can buy brackets for the ceiling (2) or roof rafters (3). Installing the awning is basically very simple and is limited to attaching the brackets, e.g. to the wall. If necessary, we can also freely set the angle of inclination. We can also attach the awning without any problem to a wall insulated with e.g. Styrofoam, up to 20 cm thick. The product is intended for self-assembly.
1. Installing the Awning to the Wall
As standard, the awning has wall brackets that are painted to match the color of the structure. The number of pieces is selected according to the width of the awning.
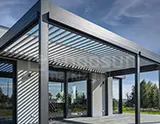
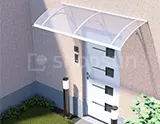
2. Ceiling mounting
The awning can also be mounted to the ceiling using a ceiling bracket. Ceiling bracket requires additional fee. The number of pieces is selected according to the width of the awning.
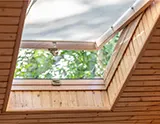
3. Installation to the roof rafter
The awning can be attached to the roof rafter. The rafter bracket is connected (screwed) with the wall bracket (1), which gives us one whole. A rafter handle always requires an additional fee.
Video of the Marquise assembly:
qqq
Zapisz do PDF
Trwa generowanie dokumentu, poczekaj chwilę
Back
Zapisz do PDF
Your cart email sent successfully :)
We use cookies to enhance your browsing experience, serve personalized ads or content, and analyze our traffic. By clicking "Accept All", you consent to our use of cookies.Accept All