Do you have any questions? Need help?Call us +48 518 075 074

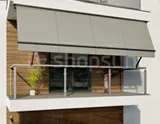
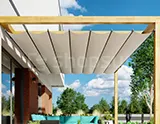
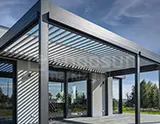
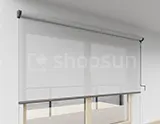
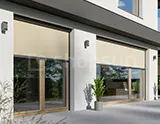
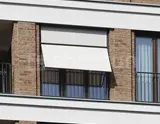
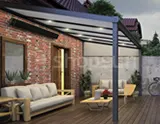
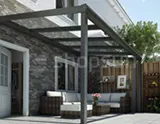
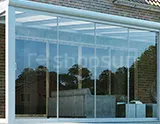
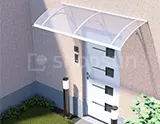
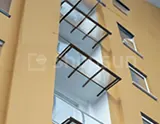
Ways of installing awnings

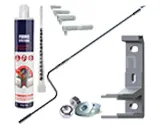
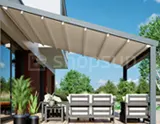
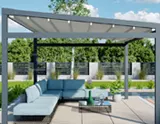
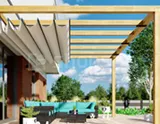
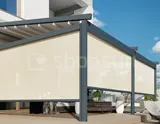
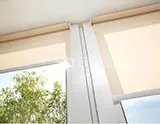
Awning installation Australia: The awning is already fully assembled and adjusted. The awning is standardly equipped with wall mounts (1). For an additional fee, we can buy brackets for the ceiling (2) or roof rafters (3). Installing the awning is basically very simple and is limited to attaching the brackets, e.g. to the wall. If necessary, we can also freely set the angle of inclination. We can also attach the awning without any problem to a wall insulated with e.g. Styrofoam, up to 20 cm thick. The product is intended for self-assembly.

Assembly Instructions – View PDF


1. Installing the Awning to the Wall

As standard, the awning has wall brackets on which it is attached to a vertical surface. The handles are painted to match the color of the structure. The number of pieces is selected according to the width of the awning.


2. Ceiling mounting

The awning can also be mounted to the ceiling using a (2) ceiling bracket. It is connected (screwed) with the wall bracket(1), which gives us one whole. Ceiling bracket requires additional fee. There are always the same number of ceiling brackets as wall brackets.


3. Mounting to the roof rafter

The terrace awning can also be attached to the roof rafter. The rafter bracket (3) is connected (screwed) with the wall bracket(1), which gives us one whole. A rafter holder always requires an additional fee. There are always the same number of rafter brackets as wall brackets.


The standard number of mounting brackets (from 2 to 5) depends on the width of the awning.

The number of mounting brackets (from 2 to 5) depends on the width of the awning. The awning manufacturer sets a standard number of handles for given dimensions; if necessary, it is possible to use more handles. Using a chemical anchor with rods, we can easily mount the awning on Styrofoam (without cutting holes in it). We recommend this set especially for awnings with a long reach, e.g. 250 cm.


EXAMPLE PHOTOS FROM INSTALLATION
(On the example of awnings using the same mounting brackets)

The photos show the same awning in two different installation variants. A wall mount is standard. If we want to mount the awning to the ceiling, we need to buy a 2 ceiling bracket, which we screw together with a standard 1 bracket, which gives us a single unit.

1 – Standard wall mount
2 – Standard ceiling mount
3 – Standard rafter handle

The 1 wall bracket is mounted to the main beam of the awning. After connecting it to the awning beam, it should be secured with a locking screw to prevent the awning from sliding out of its holders on its own. In the place where the locking screw is visible, rectangular plugs are used to improve aesthetics (caps visible in the photos below).


The photos below show a typical rafter bracket screwed to the side of the roof beam. The rafter bracket A (3) is screwed together with the typical wall bracket B (1), which gives us one whole. We can screw the rafter bracket sheet to the side of the wooden roof beam (as in the photo) or, depending on its thickness, we can also drill through it and screw the whole thing together with four screws.

A – Standard rafter handle
B – Standard wall mount

TheBwall bracket is mounted to the main beam of the awning. After connecting it to the awning beam, it should be secured with a locking screw to prevent the awning from sliding out of its holders on its own. In the place where the locking screw is visible, rectangular plugs are used to improve aesthetics (caps visible in the photos below).


EXAMPLE PHOTOS OF AWNING AWNING INSTALLATION AUSTRALIA

Photo Gallery Awnings – Click Here


The page concerns a terrace awning Australia by Selt made to measure in accordance with the information provided during the order in the product configurator. More information can be found in the configurator or on other product subpages.


Zapisz do PDF

Trwa generowanie dokumentu, poczekaj chwilę

Back Zapisz do PDF
Your cart email sent successfully :)